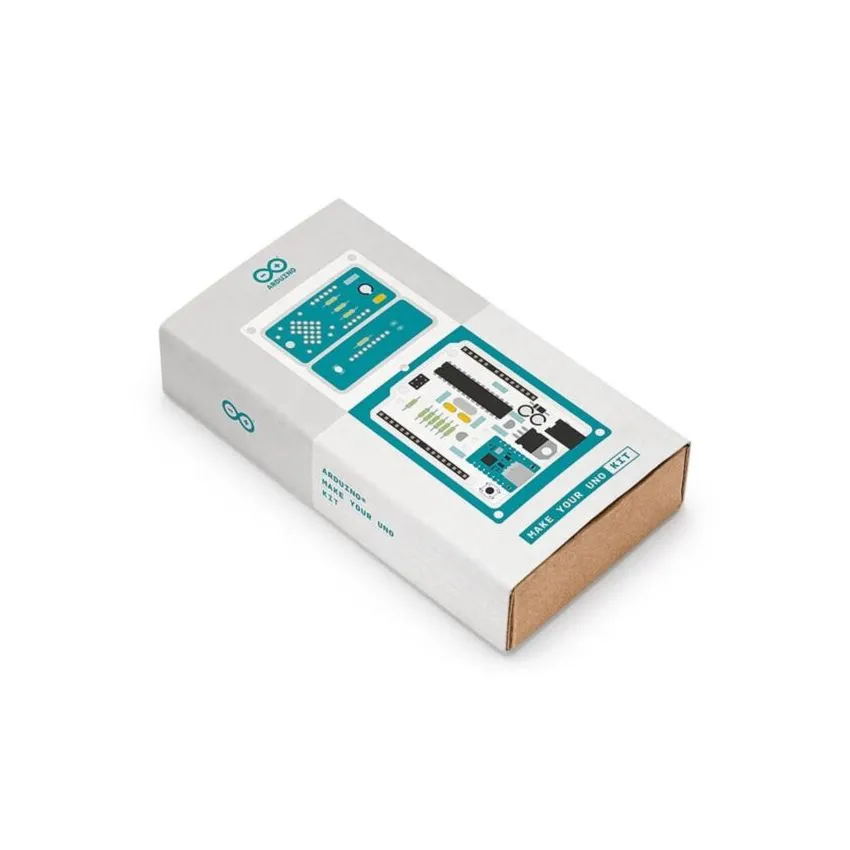
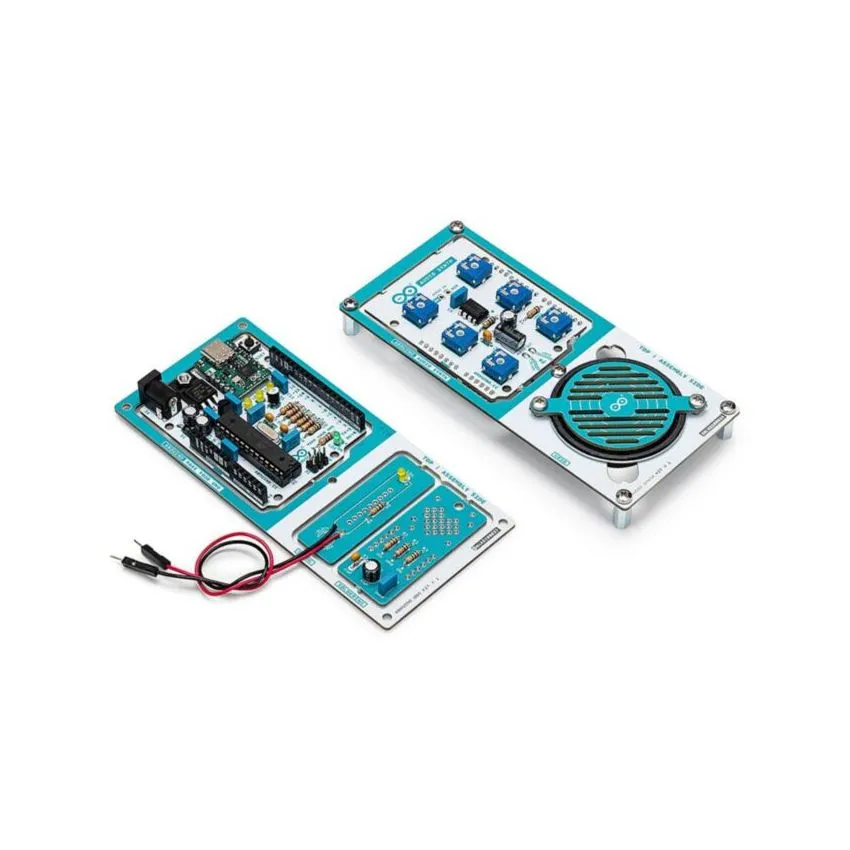
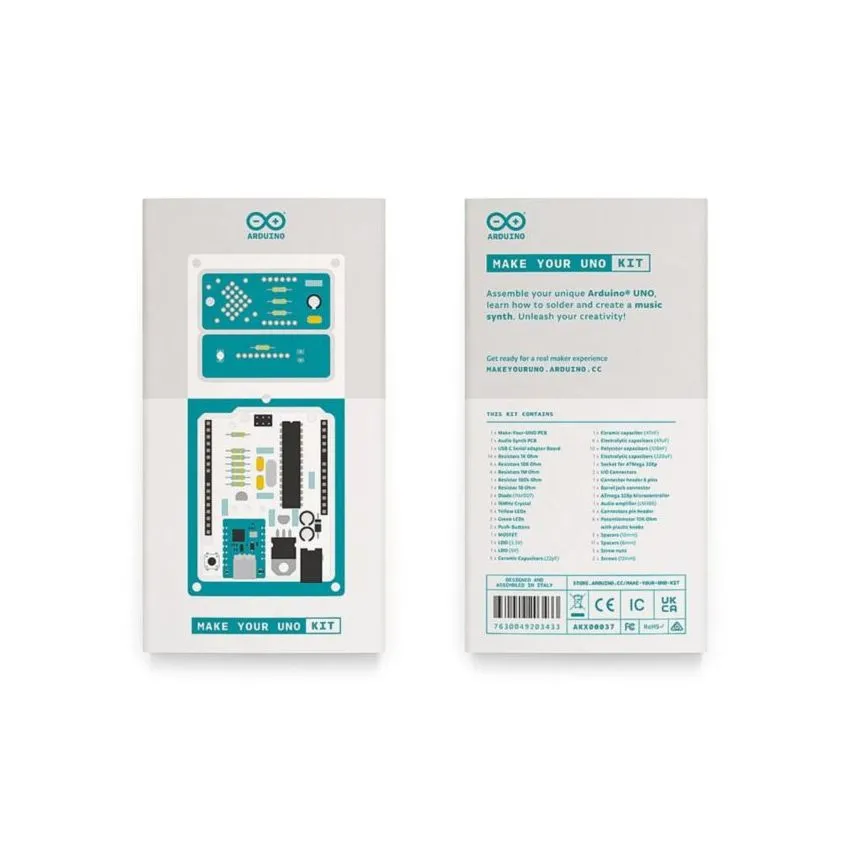
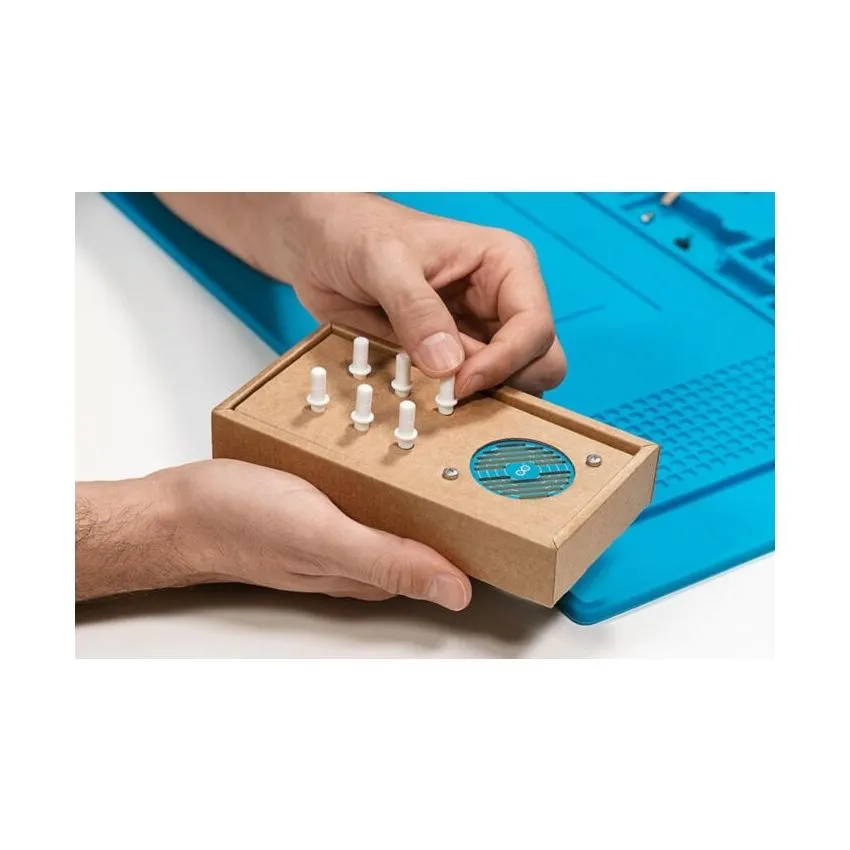
The Arduino Make Your UNO Kit is designed for makers, students, and anyone who wants to understand how an Arduino board is built from the component level.
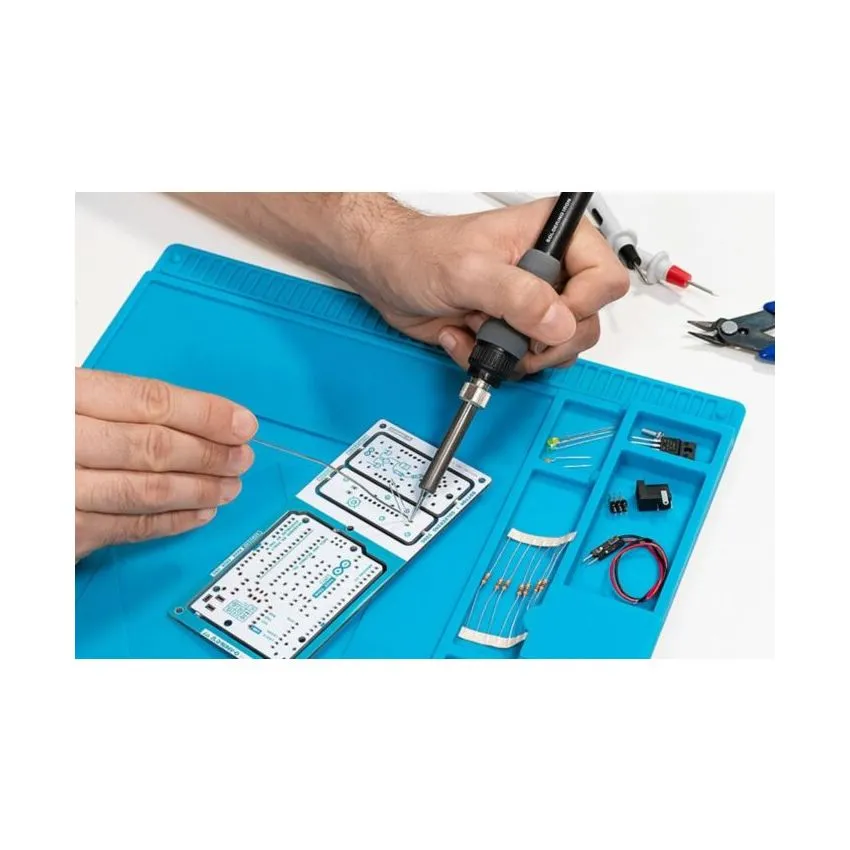
Instead of receiving a finished board, you assemble the UNO yourself by soldering the supplied electronic components onto the PCB. This makes the kit especially useful for learning soldering, basic electronics, component identification, and microcontroller fundamentals.
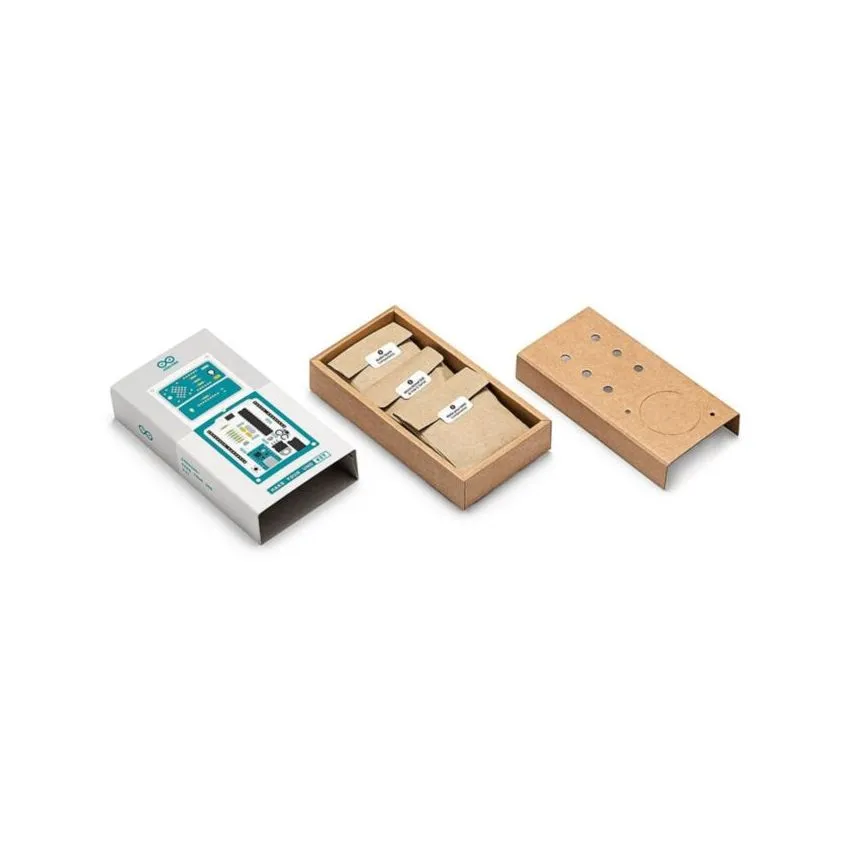
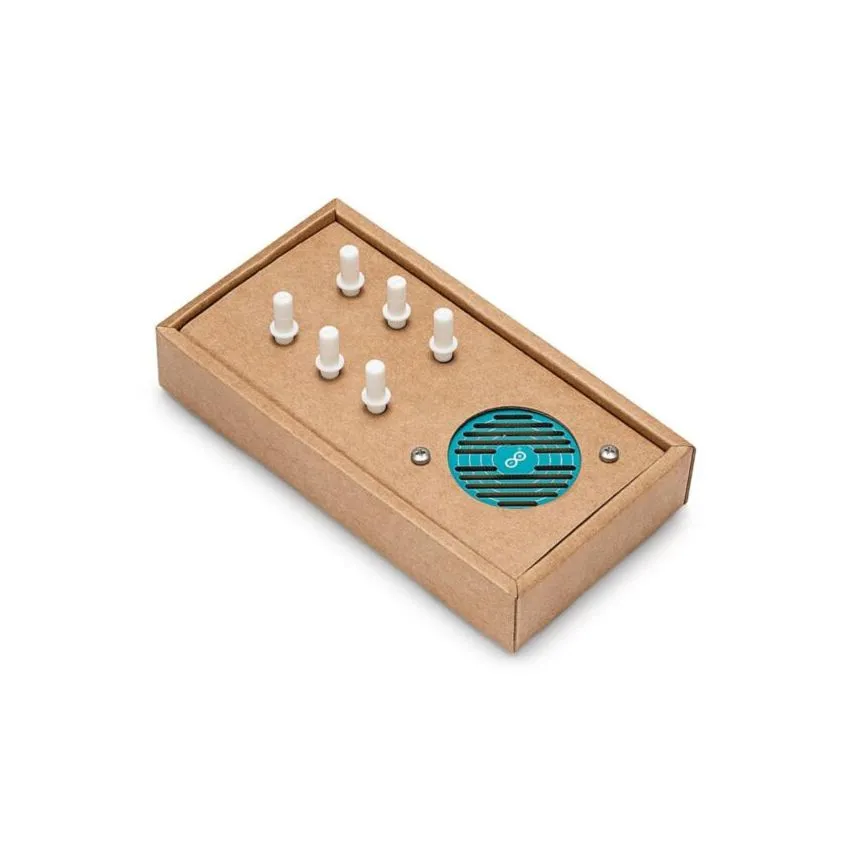
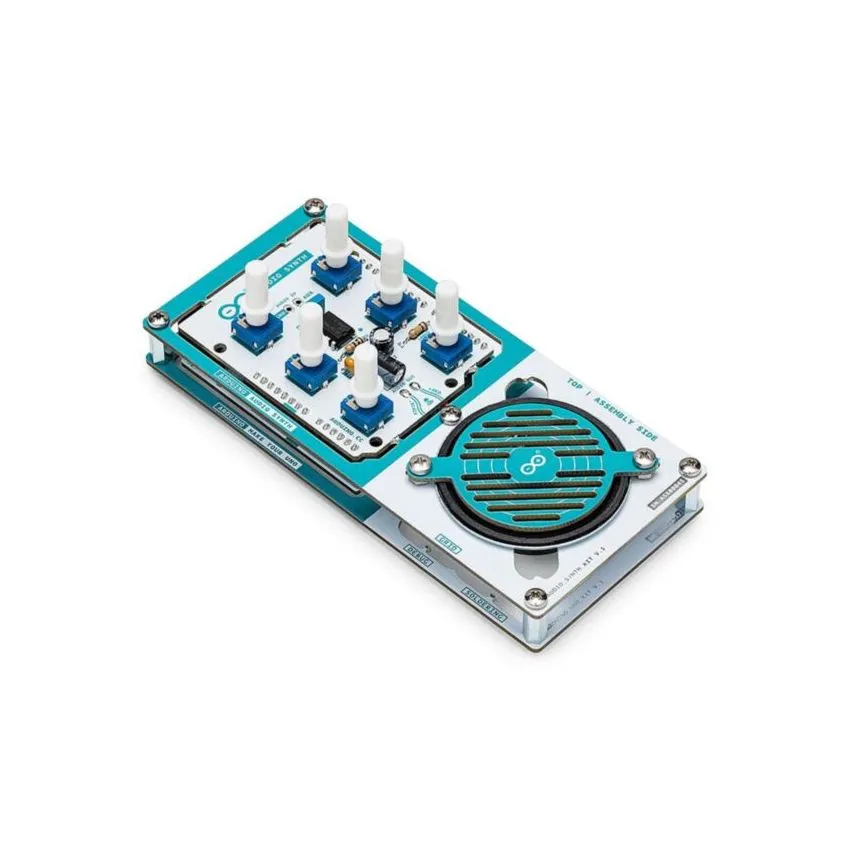
After completing the UNO board, the included Audio Synth PCB can be assembled into a wave synthesizer. Arduino also designed the packaging so it can be reused as the enclosure for the finished synth. Arduino Official Store
The finished Make Your UNO board uses the ATmega328P microcontroller and is compatible with shields designed for the Arduino UNO R3. A USB-C serial board based on the ATmega16U2 is included for programming and powering the assembled board. Arduino Documentation
Key Features:
• Build your own fully functional Arduino UNO board from individual components
• Learn soldering and basic electronics through practical assembly
• Includes ATmega328P microcontroller
• Includes USB-C serial adapter board with ATmega16U2
• Build an Audio Wave Synthesizer Shield after completing the UNO board
• Includes 6 × 10kΩ potentiometers with control knobs for the synthesizer
• Packaging can be reused as the synthesizer enclosure
• Includes guided step-by-step learning content
• Includes video tutorials and interactive 3D assembly instructions
• Compatible with Arduino UNO R3-compatible shields after assembly
• Includes spare electronic components for learning and troubleshooting
• Suitable for makers, students, STEM learning, electronics workshops, and soldering practice
• Official Arduino product
• Soldering iron and solder are not included Arduino Official Store
Applications:
• Learning soldering techniques
• Understanding electronic components
• Learning PCB assembly
• Arduino programming
• Microcontroller education
• STEM classroom activities
• Maker workshops
• Electronics training
• DIY electronics projects
• Building an Arduino-compatible development board
• Audio electronics experimentation
• Building a wave synthesizer
• Prototyping with Arduino UNO-compatible shields
Main Technical Specifications:
• Main Microcontroller: ATmega328P
• CPU Architecture: 8-bit AVR
• Clock Speed: Up to 16 MHz
• Flash Memory: 32 KB
• SRAM: 2 KB
• EEPROM: 1 KB
• PWM Channels: 6
• Communication Interfaces: USART, SPI, I2C
• USB Interface: USB-C Serial PCB
• USB Controller: ATmega16U2
• USB Controller Flash: 16 KB
• USB Controller SRAM: 512 B
• USB Controller EEPROM: 512 B
• USB Controller Operating Voltage: 2.7V–5.5V Arduino Documentation
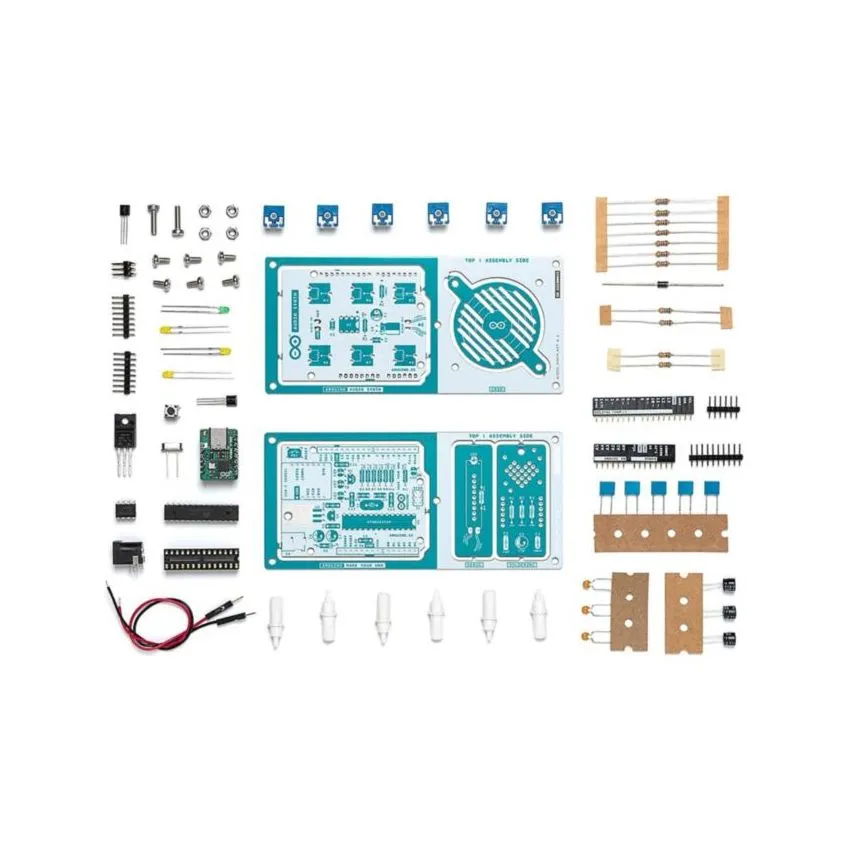
Kit Includes:
Make Your UNO Components
• 1 × Make Your UNO PCB
• 1 × USB-C Serial Adapter Board
• 7 × 1kΩ Resistors
• 2 × 10kΩ Resistors
• 2 × 1MΩ Resistors
• 1 × 1N4007 Diode
• 1 × 16MHz Crystal
• 4 × Yellow LEDs
• 1 × Green LED
• 1 × Push Button
• 1 × MOSFET
• 1 × 3.3V LDO Regulator
• 1 × 5V LDO Regulator
• 3 × 22pF Ceramic Capacitors
• 3 × 47µF Electrolytic Capacitors
• 7 × 100nF Polyester Capacitors
• 1 × ATmega328P Socket
• 2 × I/O Connectors
• 1 × 6-Pin Connector Header
• 1 × Barrel Jack Connector
• 1 × ATmega328P Microcontroller
Audio Synth Components:
• 1 × Audio Synth PCB
• 1 × 100kΩ Resistor
• 1 × 10Ω Resistor
• 1 × LM386 Audio Amplifier
• 1 × 47nF Ceramic Capacitor
• 1 × 47µF Electrolytic Capacitor
• 1 × 220µF Electrolytic Capacitor
• 1 × 100nF Polyester Capacitor
• 4 × Pin Header Connectors
• 6 × 10kΩ Potentiometers with Plastic Knobs
Spare Components:
• 2 × 47µF Electrolytic Capacitors
• 2 × 100nF Polyester Capacitors
• 2 × 22pF Ceramic Capacitors
• 1 × Push Button
• 1 × Yellow LED
• 1 × Green LED
Mechanical Parts:
• 5 × 12mm Spacers
• 11 × 6mm Spacers
• 5 × Screw Nuts
• 2 × 12mm Screws




 JORD
JORD