How to Start Raspberry Pi Projects - A Full Guide
Raspberry Pi is a powerful yet affordable single-board computer that is widely used for DIY projects, learning to code, home automation, and AI applications. No matter if you're just starting out or you've been developing for a while, Raspberry Pi opens up endless possibilities.
In this guide, we’ll walk you through the basics of getting started with Raspberry Pi projects, from choosing the right model to setting up your first project.
How to Pick the Right Raspberry Pi for Your Next Project
There are several Raspberry Pi models available, each designed to suit different Raspberry Pi projects' needs:
- Raspberry Pi 4 Model B: Ideal for users who require high processing performance. It offers up to 8GB of RAM, making it suitable for demanding applications and multitasking.
- Raspberry Pi 5: Up to three times faster than the previous generation, the Raspberry Pi 5 is the ultimate choice for powerful computing. With RAM variants ranging from 2GB to an impressive 16GB, it is perfect for high-performance applications and intensive tasks.

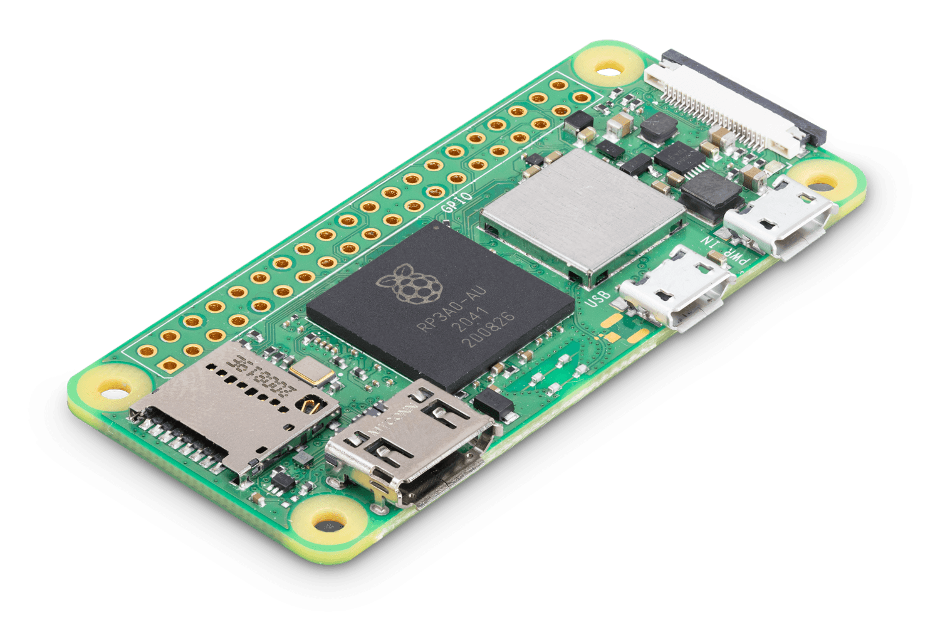
- Raspberry Pi Zero W and Zero 2W: If your Raspberry Pi project requires a compact, low-power processor, the Raspberry Pi Zero W and Zero 2W are excellent options. These models are particularly well-suited for IoT projects and embedded systems, offering energy-efficient performance without compromising functionality.

- Raspberry Pi Pico: For those working on embedded systems and hardware control projects, the Raspberry Pi Pico is a microcontroller offering great performance in a small form factor. It's ideal for controlling sensors, motors, and other hardware, and is perfect for projects requiring low power consumption and tight control over physical devices.

Essential Components for Your Raspberry Pi Project Setup
In this guide, we'll use the most popular Raspberry Pi board, “Raspberry Pi 4,” to get started. So you’ll need the following components for your Raspberry Pi projects:
- A Raspberry Pi board (4 GB is preferable)
SC0194, Raspberry Pi 4 Model B/4GB
- A microSD card (at least 16GB, class 10 recommended)
SanDisk Ultra MicroSD HC 32GB speed up to 100 MB/s SDSQUNR-032G-GN3MN
- A power adapter (5V, 3A for Raspberry Pi 4)
Buy Raspberry Pi 15W USB-C Power Supply UK | Besomi UAE
- Keyboard and mouse
Raspberry Pi Keyboard & Hub, UK, red/white
- A monitor or HDMI-compatible display
Search results for: 'oddx0024'
- Micro HDMI to HDMI Cable to connect with your display
Micro-HDMI to Standard HDMI (A/M), 1m cable, White
Setting Up Raspberry Pi Project
Step 1: Install an Operating System
This is the first step in setting up a Raspberry Pi project. The most common operating system for Raspberry Pi is Raspberry Pi OS (formerly Raspbian). Here’s how to install it:
- Download Raspberry Pi Imager from the official website: https://www.raspberrypi.org/software/
- Insert your microSD card into your computer.
- Open Raspberry Pi Imager, select the OS and storage, and click ‘Write’.
- Once the installation is complete, insert the microSD card into your Raspberry Pi.

Step 2: Connect and Boot Up
- Connect your Raspberry Pi to a monitor using an HDMI cable.
- Attach a keyboard and mouse.
- Plug in the power adapter. The Raspberry Pi should boot up.
Step 3: Initial Setup
- Follow the on-screen prompts to configure your location, WiFi, and password.
- Update the system by opening a terminal and running:
sudo apt update && sudo apt upgrade -y
First Project: Blinking an LED
If you want to try a simple hardware project, blinking an LED using GPIO pins is an excellent start to Raspberry Pi projects.
What you’ll need:
- A breadboard
- An LED
- A 330-ohm resistor
- Jumper wires
Wiring:
- Connect the long leg of the LED to GPIO 18 (pin 12) on the Raspberry Pi.
- Connect the short leg to the ground (GND) through the resistor.

Add a new File and name it as Blink.Py, and write the below Python code
Python Code:
import RPi.GPIO as GPIOimport timeGPIO.setmode(GPIO.BCM)GPIO.setup(18, GPIO.OUT)while True:GPIO.output(18, GPIO.HIGH)time.sleep(1)GPIO.output(18, GPIO.LOW)time.sleep(1)
Save this file as blink.py and run it in the terminal using:
python3 blink.py
Your LED should start blinking!

Useful Resources
- Official Raspberry Pi Documentation: https://www.raspberrypi.org/documentation/
- Beginner Projects: https://projects.raspberrypi.org/en/projects
Conclusion
Getting started with Raspberry Pi projects is easier than you think. Whether you want to learn programming, experiment with electronics, or build your own smart home, Raspberry Pi has the tools to help you. Start with simple projects and gradually explore more advanced applications. Have fun creating!

